

This is Technique #45 from our 100 Techniques Every Home Cook Can Master.
Each technique is broken into three sections: why it works, key steps, and recipes that use it. Learn these recipe building blocks and you'll be set up for a lifetime of cooking success.
You might think of brining as what you do to keep lean meat juicy and tender, but brining isn’t just for meat. When you brine dried beans in salted water, they cook up with softer, more tender skins and are less likely to blow out and disintegrate.
The Science Behind the Brine
Why does brining dried beans in salt water (instead of just soaking them in plain water) ward off tough, unpleasant skins? It has to do with how the sodium in salt interacts with the cells of the beans’ skins. The pectin molecules in bean skins are tightly bound by calcium and magnesium ions. As the beans brine in the salt water, the sodium ions replace some of the calcium and magnesium ions in the skins, causing the pectin to weaken.
Because sodium ions are more weakly charged than calcium and magnesium ions, they allow more water to penetrate the skins, leading to a softer texture. During brining, the sodium ions will filter only partway into the beans, so their greatest effect is on the cells in the outermost part of the beans.
Sign up for the Notes from the Test Kitchen newsletter
Our favorite tips and recipes, enjoyed by 2 million+ subscribers!
Brine for Better Texture
Softening the skins also makes them less likely to split and burst open as the beans cook, keeping the beans intact. That’s a good thing, since when beans burst and spill their starchy innards, it gives the dish a sticky, unappealing texture. Brined beans also cook faster than unbrined beans and tend to absorb water more evenly, so their finished texture is creamier and they will be more evenly cooked.

Cook It In Your Dutch Oven
Learn how you can put your Dutch oven to work every day in so many different ways. Make it your go-to for weeknight meals and impressive roasts and braises.
Buy NowStep by Step: How to Brine Beans
Now that you've learned the science behind brining beans, follow these simple steps so you can do it at home.
Step 1: Rinse and Pick Over
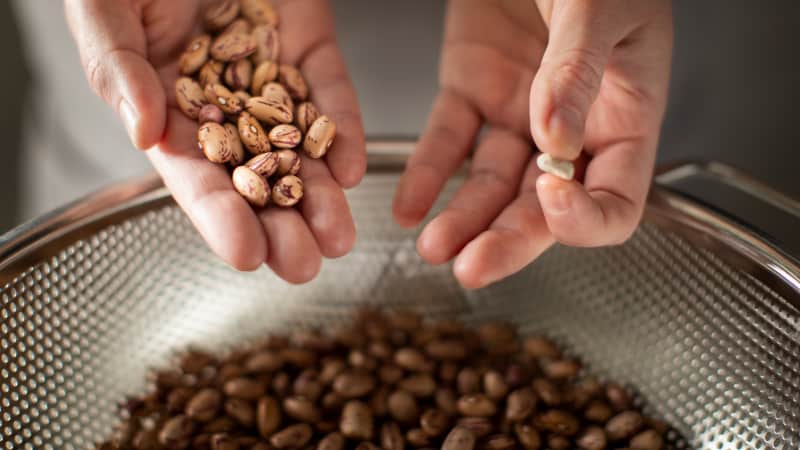
Pour beans into colander, pick over beans to remove any debris, and rinse under running water.
Step 2A: For Regular Brining, Submerge Beans for 8 to 24 Hours

Dissolve 3 tablespoons table salt in 4 quarts cold water in container large enough to hold beans and liquid. Add 1 pound dried beans and soak the beans at room temperature for 8 to 24 hours.
Step 2B: For Quick Brining, Heat Brine and Submerge Beans For 1 Hour

Combine 3 tablespoons table salt, 4 quarts water, and 1 pound dried beans in a large pot and bring to boil over high heat. Remove pot from heat, cover, and let stand for 1 hour.
Step 3: Drain and Rinse

Drain beans in colander and rinse well.
Step 4: Use or Freeze

Brined beans can be sealed in zipper-lock bag and frozen for up to 1 month.
Recipes That Use This Technique
Ready to put your newfound knowledge of brined beans to use? Try it with these recipes.

Cranberry Beans with Warm Spices
Cranberry beans have a delicate flavor and a creamy texture similar to that of pinto and cannellini beans.
Get the Recipe
Texas-Style Pinto Beans
This unfussy barbecue side dish proves that sometimes the simplest way is the best.
Get the Recipe
Lentil Salad with Olives, Mint, and Feta
The key to creamy but firm lentils lies in the relationship between legume and salt.
Get the Recipe
French Pork and White Bean Casserole (Cassoulet)
In France, this 700-year-old pork-and-bean casserole is a three-day production. Could we turn it into an afternoon’s work?
Get the Recipe
Cuban-Style Black Beans and Rice (Moros y Cristianos)
Cooking beans and rice in a single vessel sounds like a straightforward one-pot meal—that is, until both elements cook up mushy and bland.
Get the RecipeReady to learn another technique? Choose from our list of 100 Techniques Every Home Cook Can Master.