Traditional baking is an exact science with time-honored techniques. When it comes to gluten-free baking, however, many new factors come into play and often key tenets of standard baking no longer apply. Here are some gluten-free cooking facts that you should know in order to turn out baked goods that look and taste great.
Sign up for the Notes from the Test Kitchen newsletter
Our favorite tips and recipes, enjoyed by 2 million+ subscribers!
1. Gluten-Free Flours Require Special Measuring Techniques
Most home bakers use the dip-and-sweep method when measuring flour, but this doesn’t work well with gluten-free flours and starches. These flours and starches are finer than wheat flours, making them hard to pack evenly and consistently into a measuring cup. Also, they’re often sold in small bags or boxes, so it’s hard to maneuver a measuring cup inside the package without creating a mess or unevenly packing the cup.
The simple solution is to just use a scale and weigh the flours instead of relying on wavering volume measurements. We strongly recommend that you use a kitchen scale when baking gluten-free recipes. If you insist on using measuring cups, we found the following method delivers the most uniform results.
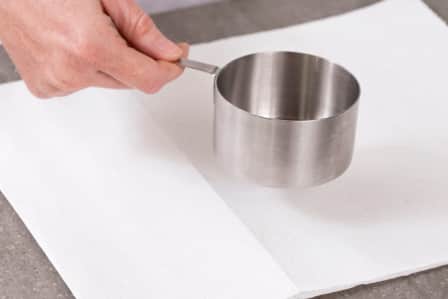
1. Place sheet of paper towel on counter and set measuring cup in center.

2. Spoon flour into cup, occasionally shaking cup to settle flour, until flour is mounded over rim. Do not tap cup or pack flour.
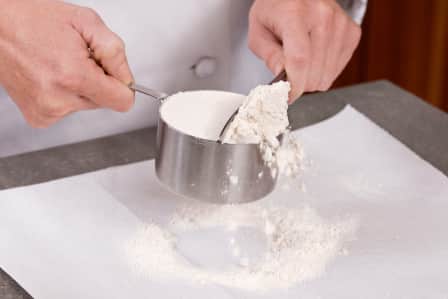
3. Using flat edge (like back of butter knife), scrape away excess flour to level.
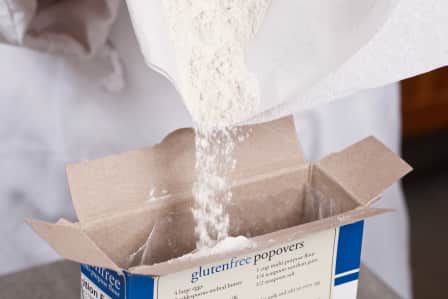
4. Use paper towel to help funnel excess flour back into bag/container.
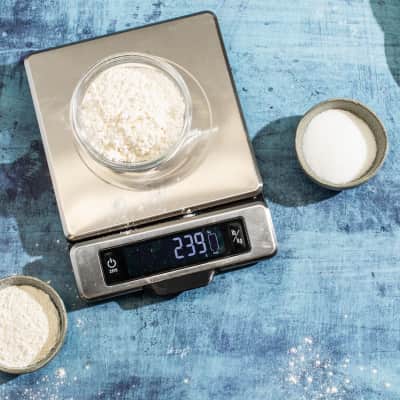
The Best Kitchen Scales
No matter what you’re cooking or baking, weighing the ingredients helps guarantee perfect results—but only if your scale is accurate and easy to use.
Read Our Review2. Mixing Batters Longer Provides Structure
While traditional recipes often warn against overmixing to avoid building up excess structure in delicate batters (such as muffins and cakes) so that they don’t turn rubbery, we found the opposite to be true of gluten-free batters. In fact, when developing gluten-free recipes, we often find ourselves mixing longer to get the batters to have more structure so that they have a better rise and a nicer chew, and can support stir-ins, such as blueberries.
The Gluten-Free Blueberry Muffins below show the difference between an undermixed batter and a well-mixed batter in terms of both overall height and the ability to support berries evenly throughout the muffin.


Left: Muffin made using traditional mixing method. Right: Muffin made using longer mixing method.

How Can It Be Gluten-Free Cookbook Collection
Our New York Times best-selling The How Can It Be Gluten-Free Cookbook and The How Can It Be Gluten-Free Cookbook: Volume 2. Includes over 75 dairy-free recipe variations and an expanded troubleshooting chart for what can go wrong in gluten-free baking.
Buy Now3. Resting Batters and Doughs Has Multiple Benefits
You may notice a sandy texture in quick-cooking gluten-free baked goods that you don’t notice in those with longer baking times.
We tested lots of theories on how to get rid of this grit (grinding the flours further in a food processor, soaking them in water, heating them up before making the batter), but nothing worked well.
Then, almost by accident, we found that letting batters sit, covered, for 30 minutes before baking made all the difference. It simply gave the flours and starches time to absorb the liquid and soften before baking. It also helped batters become thicker and doughs to firm up so that they were less sticky. Just look at the dramatic difference this made in our recipe for gluten-free pancakes below.
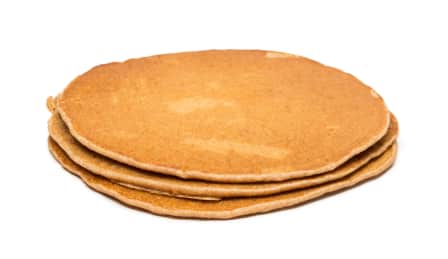
These flat gluten-free pancakes were made without rested batter.
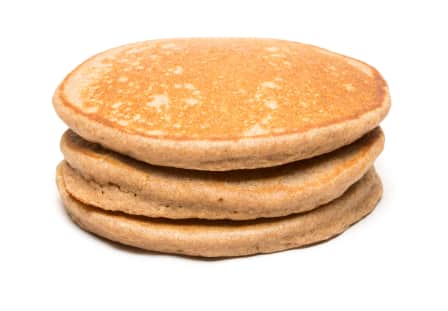
These fluffy gluten-free pancakes were made with rested batter.

Gluten-Free Buttermilk Pancakes
Just because you need to avoid gluten doesn’t mean you can’t enjoy a leisurely Saturday morning pancake breakfast.
Get the Recipe4. Visual Cues Are Not Reliable; Use an Oven Thermometer and a Timer
Knowing when a cake or bread is perfectly done and ready to come out of the oven can be tricky. This is especially true with gluten-free baking because traditional techniques (like a clean toothpick or pressing on the top of a cake) aren’t always accurate indicators.
Even when fully cooked, gluten-free baked goods often look underdone, are slightly wet inside, and feel soft to the touch. Only when they cool do the starches set and firm up. That’s why we often find that timing is a more foolproof way than visual cues to determine doneness. And remember: Baking times are only as accurate as your oven. If your oven runs hot or cold, a recipe’s times will not be accurate, so be sure to use a good oven thermometer.
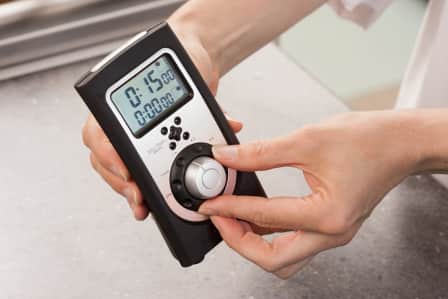
1. A timer is often the best way to tell when your gluten-free baked goods are done because visual cues can be misleading.
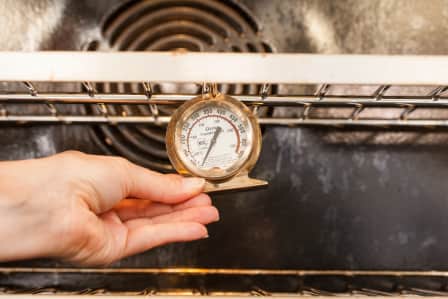
2. A well-calibrated oven is crucial for gluten-free baking. Use a good oven thermometer and place it as close to the center of the oven as possible.
5. Bake, Then Bake Some More
Gluten-free baked goods often benefit from extra liquid to hydrate the flour blends, eliminate grittiness, and achieve a less dense or dry texture. However, it’s very important to drive off this extra moisture during baking, or you’ll wind up with a gummy texture.
The best way to do this? Longer baking times. Some of our gluten-free recipes even instruct you to bake beyond the time that a toothpick inserted into the baked good comes out clean. We found that gluten-free coffee cake, below, is such a recipe; if you pull this cake out of the oven too soon, it will have a very mushy texture.
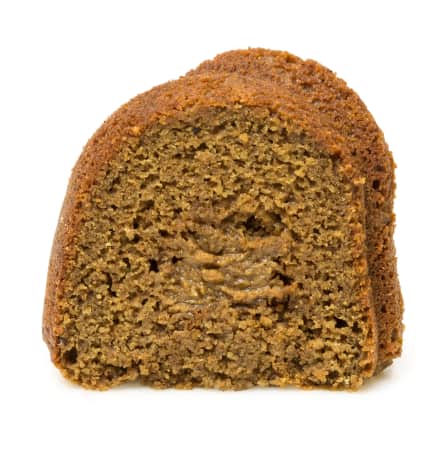
This gluten-free coffee cake was baked until a toothpick came out clean.
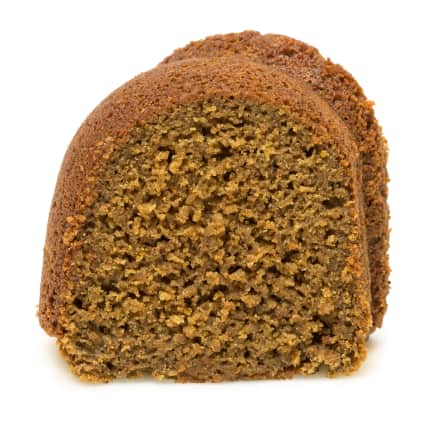
This gluten-free coffee cake was baked 20 minutes past the point that a toothpick came out clean.

Gluten-Free Coffee Cake
A coffee cake that feeds a crowd is perfect for Sunday brunches or holiday breakfasts.
Get the RecipeWant more information on gluten-free baking? Get more of your questions answered in these articles: