


An English muffin is like a book: You can’t judge its quality from the outside; the defining features of greatness are actually hidden within.
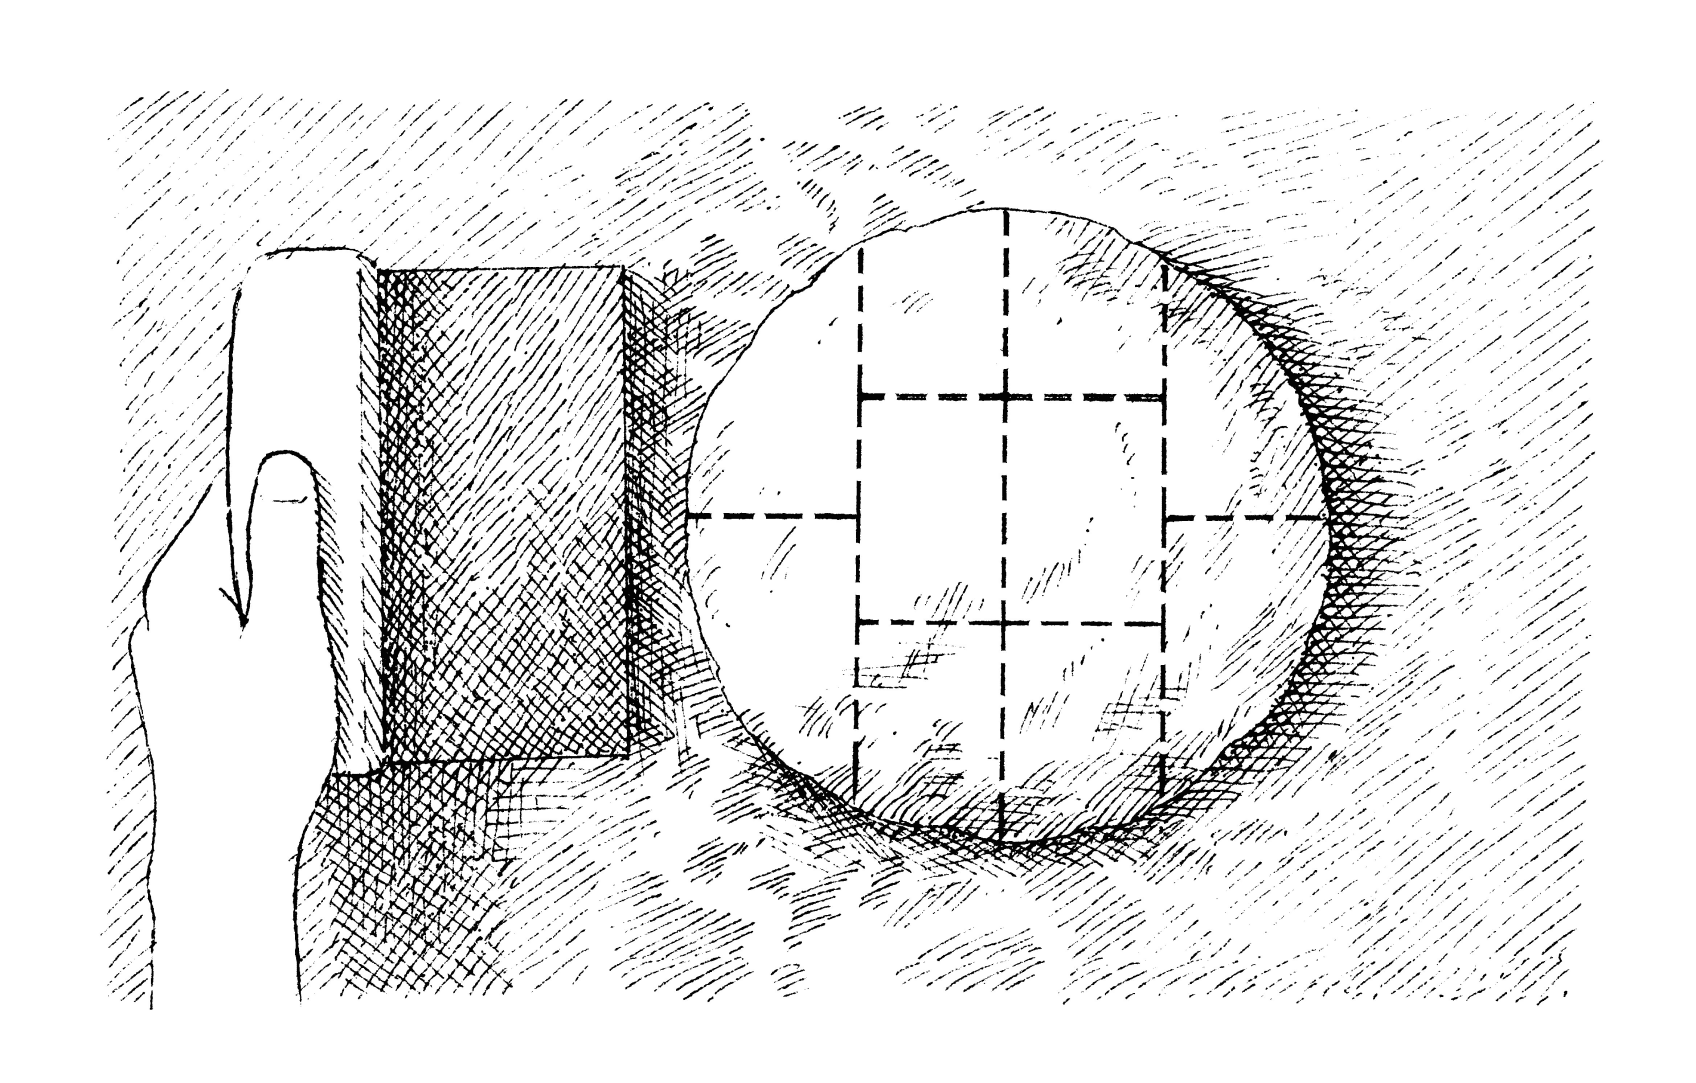
Splitting a muffin open should reveal a field of variously sized holes. The more holes, the more irregular the surface is, and an irregular surface toasts unevenly, which produces a pleasing array of colors, textures, and flavors.
And that’s vital, considering that British baker Samuel Bath Thomas, the inventor of what we know as the English muffin, intended for the breads to be split and toasted.
I’ve been trying for years to make English muffins, following recipes that promised surfaces as craggy as the moon only to deliver uniformly textured breads that were more like burger buns.
The recipes followed similar methods: Knead a moderately moist, lightly sweetened yeasted dough; let it rise; portion it into disks; and let the disks rise again. Bronze the crusts in a skillet; then, either continue to cook them through on the stovetop or transfer them to the oven.
Sign up for the Cook's Insider newsletter
The latest recipes, tips, and tricks, plus behind-the-scenes stories from the Cook's Illustrated team.
When I reviewed some formulas for commercial English muffins—which, other considerations aside, usually have holes aplenty—I realized that at roughly 70 percent hydration, the ones I’d been making were far too dry.
Factory muffins are made with 83 to 90 percent as much water as flour. That water turns to steam and inflates bubbles in the dough, making the structure coarse and porous.
In the test kitchen, I found that adding enough water to develop the craters made the dough unmanageably sticky; it tended to flow and flatten instead of holding its shape.
Metal rings can corral the muffins, but I didn’t want to use special tools. To make it less slack, I needed to build more structure in the dough.
How Water Shapes Nooks and Crannies

The amount of water in a dough is directly related to the porosity of the crumb.
During baking, the water turns to steam, expanding the air bubbles created during mixing. (Steam and yeast don’t create bubbles—they only enlarge those that are already there.) The more steam, the more open the texture will be.
Since homemade English muffins are often baked without the support of molds to corral the dough, most recipes call for low hydration levels, around 70 percent, to help the breads hold their shape.
The result is a tight, dense crumb. Thanks to thoughtful kneading and shaping, we’re able to push the amount of water in our muffins to the upper limits.
At 83 percent hydration, they sport particularly holey interiors, which makes for plenty of nooks and crannies.
Full Strength
With a goal of 83 percent hydration, I whisked almost 1 pound of bread flour (its extra protein provides structure and absorbs lots of water) with salt and yeast.
In a separate bowl, I combined 1⅓ cups of water with a touch of honey, which browns more readily than sugar, an asset on the griddle and in the toaster. I combined the mixtures and then let the dough ferment.
After 20 minutes, the soft, wet dough had started to puff, so I began a gentle kneading process to build strength and structure while preserving the nascent bubbles within.
I stretched one edge of the dough upward and folded it over and then turned the bowl slightly, repeating this routine a dozen times until the dough felt more elastic, a sign that gluten was developing.
After briefly resting the dough and repeating the kneading steps, I let it sit until it doubled in size.
To shape the muffins, I sprinkled semolina onto the counter and inverted the wobbly mass on top. Not only would a golden, nubbly coating prevent sticking, but it would add to the muffins’ charm.
In most recipes, the next step would be to flatten the inflated dough so it could be portioned precisely but, wanting to preserve every precious bubble, I just gently cut it into roughly equal pieces.
To shape the muffins, I pulled the edges up from the bottom and sealed them together at the top like a dumpling, enclosing the wet, bubbly dough within a smooth, taut surface.
Making English Muffins


Anticipating that the portions would be even more delicate after a second rise, I placed each on its own square of parchment so they would be easy to transport.
Then, to build flavor and even more bubble-retaining strength, I refrigerated the muffins for 8 hours.
Rise and Shine
After rising at room temperature for 45 minutes, the portions looked impossibly light, so I heated a skillet and the oven. (A stove-to-oven approach would be much speedier than baking multiple batches through in a skillet.)
Grasping a square of parchment, I inverted a muffin onto the hot, dry skillet and then inverted two more muffins thusly. After browning them for just a minute per side, I griddled the rest. Next, I shuttled them into the oven, where they baked through in 10 minutes.

I pierced the side of a cooled muffin with a fork and then pulled it apart to reveal a glorious landscape of craggy peaks and generous divots.
After toasting, the varied topography was even more pronounced, just right for capturing the butter that I slathered on top.
Baking the muffins was wonderfully satisfying. And eating them fresh from the oven? Pure joy.

Light and Crispy English Muffins
With a little know-how (and a lot of water), you can produce the hallmark nooks and crannies of English muffins.
Get the Recipe