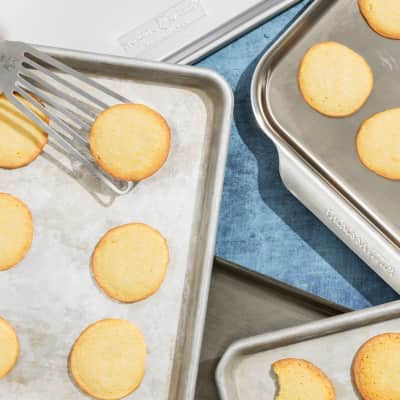
Frosted Red Velvet Cookies
By America's Test KitchenPublished on October 16, 2019
Time
1 hour, plus 20 minutes cooling
Yield
Makes about 22 cookies

Ingredients
Before You Begin
If you want to dress up these cookies, you can sprinkle them with colored sugar, but with their bright red base and stark white frosting, these cookies look the part—and taste it, too.
Instructions
- Adjust oven racks to upper-middle and lower-middle positions and heat oven to 350 degrees. Line 2 baking sheets with parchment paper.
- Whisk flour, cocoa, baking soda, and salt together in bowl. Using stand mixer fitted with paddle, beat 8 tablespoons butter and granulated sugar on medium-high speed until pale and fluffy, about 2 minutes. Add egg, food coloring, and 1 teaspoon vanilla and beat until combined, about 30 seconds. Reduce speed to low and add half of flour mixture, followed by sour cream, then remaining flour mixture until combined. Drop 2-tablespoon mounds of dough onto prepared sheets, spacing them about 2 inches apart.
- Bake cookies until centers are set, 16 to 18 minutes, switching and rotating sheets halfway through baking. Let cookies cool on sheets for 5 minutes, then transfer to wire rack. Let cookies cool completely.
- Using clean, dry mixer bowl and paddle, mix cream cheese, remaining 4 tablespoons butter, and remaining ½ teaspoon vanilla on medium-low speed until combined, about 30 seconds. Reduce speed to low, slowly add confectioners' sugar, and mix until smooth, about 1 minute. Increase speed to medium-high and beat until light and fluffy, 1 to 2 minutes. Spread 1 tablespoon frosting evenly on each cookie before serving.


Time
1 hour, plus 20 minutes coolingYield
Makes about 22 cookiesIngredients
Ingredients
Ingredients
Why This Recipe Works
In addition to traditional red velvet cake, we've seen red velvet cupcakes, red velvet whoopie pies, and even red velvet doughnuts. Like the cake, the red color of these cookies comes first from the natural cocoa powder in the recipe. It's a scant amount, but it's just enough to tinge the dough and give it a light cocoa flavor without making the cookie taste like chocolate. We found that the best way to bolster the color was also the easiest and most common: adding some red food coloring. Just as important as the cake itself is the creamy, dreamy cream cheese frosting. To fully satisfy our red velvet cake cravings, we topped each cookie with a generous amount of fluffy frosting, the tang of which brightened and complemented the light cocoa flavor of the cookie itself. With portable red velvet at our fingertips, we might never fuss with a layer cake again.


44 Comments