Onigiri (Japanese Rice Balls)
By Afton CyrusPublished on January 4, 2023
Time
1 hour
Yield
Makes 6 onigiri
What Kids Are Saying
“It was wonderful! The Tuna-Mayo Filling was absolutely delicious.” —Lauren, recipe tester, age 17

Ingredients
Before You Begin
If you have an onigiri rice mold, you can use it to shape the rice balls into triangles in step 6 instead of shaping them by hand. You can choose to make one filling for all your onigiri or make a few fillings. For Tuna-Mayo Filling: Stir together ¼ cup drained canned tuna, 1 tablespoon mayonnaise (Kewpie, a Japanese brand, is great if you can find it!), and ½ teaspoon soy sauce. For Okaka Filling: Stir together ½ cup bonito flakes and 1 teaspoon soy sauce. For Ume Filling: Rinse ⅓ cup umeboshi (Japanese salted, pickled plums) and pat dry. Use fork to mash, then remove pits. (Umeboshi are supersalty, so use only ½ teaspoon of this filling per onigiri.)
Instructions
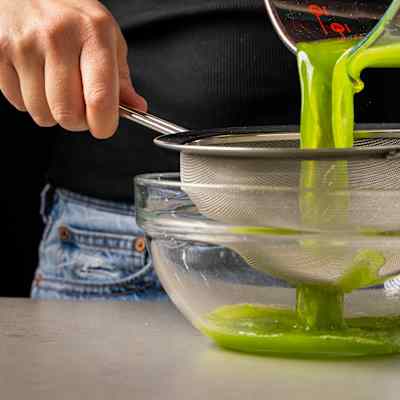
- Set fine-mesh strainer over large bowl and set in sink. Place rice in strainer and rinse under cold running water, emptying bowl a few times as it fills, until water in bowl is clear, 1½ to 2 minutes. Shake strainer to drain rice well and transfer to medium saucepan.
- Use rubber spatula to stir in water and salt. Bring rice to boil over medium-high heat. Reduce heat to low, cover saucepan with lid, and cook for 20 minutes.
- Turn off heat and slide saucepan to cool burner. Let rice sit, covered, for 10 minutes to finish cooking.
- While rice cooks and cools, use kitchen shears to cut three 1-inch-wide strips from nori sheet. Cut strips in half crosswise (the short way; you’ll have 6 pieces total). Set aside. Prepare your choice of filling (see "Before You Begin," above).
- Rinse and dry now-empty large bowl. Use rubber spatula to transfer cooked rice to bowl. Let cool until easy to handle but still very warm, about 5 minutes.
- Line ½-cup dry measuring cup with plastic wrap. Fill and shape onigiri following photos, “Step-by-Step: How to Fill and Shape Onigiri,” below. Repeat with remaining rice and filling to make 6 onigiri total.
- Sprinkle outsides of onigiri with sesame seeds (if using). Serve. (Onigiri can be wrapped individually in plastic wrap and refrigerated in airtight container for up to 24 hours.)

Time
1 hourYield
Makes 6 onigiriWhat Kids Are Saying
“It was wonderful! The Tuna-Mayo Filling was absolutely delicious.” —Lauren, recipe tester, age 17Ingredients
Test Kitchen Techniques
Ingredients
Test Kitchen Techniques
Ingredients
Test Kitchen Techniques
Why This Recipe Works
Onigiri, also called omusubi, are a popular snack, breakfast, or lunch in Japan. They’re made from sticky rice that’s molded into shapes and wrapped with pieces of nori (a seaweed), which gives you a convenient spot to hold your onigiri. Triangles are the most common shape, but you’ll also see onigiri circles, cylinders, or even adorable animal shapes. These savory, chewy snacks can be served plain, filled or mixed with flavorful ingredients, or brushed with a salty-sweet glaze and charcoal-grilled or pan-fried (a style called “yaki”). This recipe uses sushi rice, which gets slightly sticky when it’s cooked. That stickiness helps the onigiri hold their shape. The key to rice with just the right level of stickiness is rinsing. Rinsing uncooked sushi rice (or any white rice) removes some of its starch—too much starch equals too sticky, mushy rice. In step 1 of this recipe, kids can see that starch in the cloudy water that collects in the bowl as they rinse the rice. For an interesting comparison, if you have some brown rice on hand, have kids rinse a little bit of it in the same way. The water will remain clear because brown rice still has its outer layer, the bran, intact. Its starches are locked away inside and can’t be rinsed away.

/SFS_Pajeon_Korean_Scallion_Pancake_5077)


4 Comments