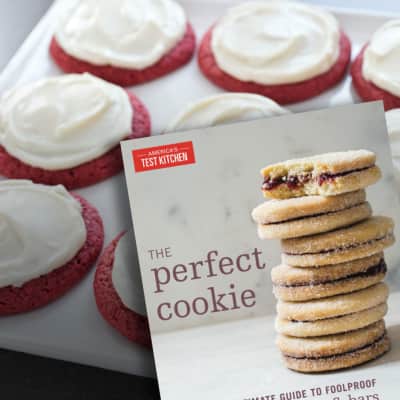
Chocolate Butter Cookies
By America's Test KitchenPublished on December 14, 2011
Time
1¼ hours, plus 45 minutes chilling and 20 minutes cooling
Yield
Makes about 48 cookies

Ingredients
Cookies
20 tablespoons (2½ sticks) unsalted butter, softened½ cup (1½ ounces/43 grams) unsweetened cocoa powder 1 teaspoon instant espresso powder 1 cup (7 ounces/198 grams) sugar ¼ teaspoon salt 2 large egg yolks 1 tablespoon vanilla extract 2 ¼ cups (11¼ ounces/319 grams) unbleached all-purpose flourOptional Bittersweet Chocolate Glaze
4 ounces (113 grams) bittersweet chocolate 4 tablespoons unsalted butter 2 tablespoons corn syrup 1 teaspoon vanilla extractBefore You Begin
Natural cocoa powder will work in this recipe, but we found that Dutch-processed yields the best chocolate flavor. Espresso powder provides complexity, but instant coffee can be substituted in a pinch. Do not reroll the scraps more than once; it will cause the cookies to be tough. The dough can be wrapped tightly in plastic wrap and stored in the refrigerator for up to three days or in the freezer for up to two weeks. Defrost frozen dough in the refrigerator overnight, then let stand at room temperature until firm yet malleable, about 30 minutes. The cookies are refined enough to serve plain, but a dusting of sifted confectioners' sugar or chocolate glaze is a nice touch. Baked cookies can be stored in an airtight container at room temperature for up to three days but should be dusted with sugar or glazed the day they are served.
Instructions
- For the Cookies: Melt 4 tablespoons butter in medium saucepan over medium heat. Add cocoa and espresso powder; stir until mixture forms smooth paste. Let cool for 15 to 20 minutes.
- Using stand mixer fitted with paddle, beat remaining 16 tablespoons butter, sugar, salt, and cooled cocoa mixture on high speed until well combined and fluffy, about 1 minute, scraping down bowl as needed. Reduce speed to medium, add egg yolks and vanilla, and mix until thoroughly combined, about 30 seconds. Scrape down bowl. Reduce speed to low and add flour in 3 additions, waiting until each addition is incorporated before adding next and scraping down bowl after each addition. Continue to mix until dough forms cohesive ball, about 5 seconds. Transfer dough to counter and divide into 3 equal pieces. Form each piece into 4-inch disk, wrap disks tightly in plastic wrap, and refrigerate until dough is firm yet malleable, 45 minutes to 1 hour.
- Adjust oven rack to middle position and heat oven to 375 degrees. Line 2 rimmed baking sheets with parchment paper. Working with 1 disk of dough at a time, roll 3/16 inch thick between 2 large sheets of parchment. If dough becomes too soft and sticky to work with, slide rolled dough on parchment onto baking sheet and refrigerate until firm, about 10 minutes.
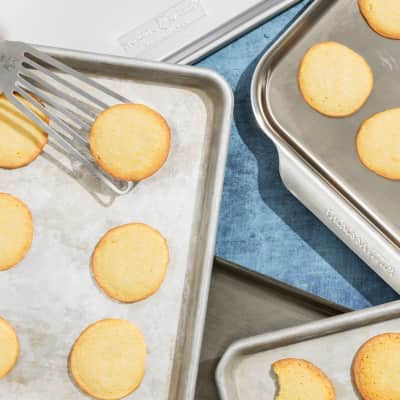
- Remove top piece of parchment. Using 2-inch cookie cutter, cut dough into shapes; space shapes 1 inch apart on prepared sheets. Bake, 1 sheet at a time, until cookies show slight resistance to touch, 10 to 12 minutes, rotating sheet halfway through baking. (If cookies begin to darken on edges, they have overbaked.) Let cookies cool on sheets for 5 minutes, then transfer to wire rack. Let cookies cool completely before serving or glazing.
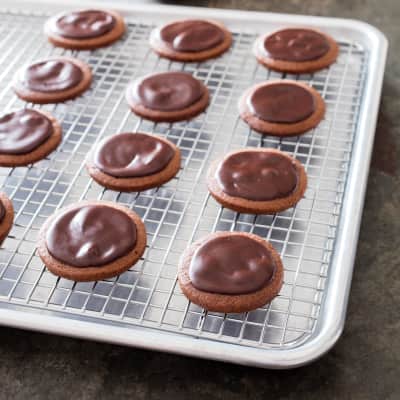
- For the Glaze: Melt chocolate and butter in medium heatproof bowl set over saucepan filled with 1 inch barely simmering water, making sure that water does not touch bottom of bowl and stirring occasionally until butter and chocolate are melted. Remove bowl from saucepan; add corn syrup and vanilla and mix until smooth and shiny. Use the back of a spoon to spread a scant teaspoon almost to the edge of each cookie. Let the glazed cookies dry for at least 20 minutes before serving.


Time
1¼ hours, plus 45 minutes chilling and 20 minutes coolingYield
Makes about 48 cookiesIngredients
Cookies
Optional Bittersweet Chocolate Glaze
Test Kitchen Techniques
Ingredients
Cookies
Optional Bittersweet Chocolate Glaze
Test Kitchen Techniques
Ingredients
Cookies
Optional Bittersweet Chocolate Glaze
Test Kitchen Techniques
Why This Recipe Works
On the butter cookie plate, the chocolate cookie, with its rich, dark color, is often the most alluring of the bunch. Sadly, though, a cookie that looks like it's made from chocolate doesn't necessarily taste like it's made from chocolate. We wanted to cram big chocolate flavor into a tender, crisp cookie. Cocoa powder has more cocoa solids than other forms of chocolate, so we figured it was the best candidate for producing deep, rich flavor. To really maximize the chocolate flavor, we doubled the amount of cocoa found in most recipes and bloomed it in hot melted butter, along with a teaspoon of instant espresso powder, before adding it to the dough. However, such a generous amount of cocoa powder resulted in dry cookies. To restore moisture, we cut back on the flour and added two egg yolks to the dough. A full tablespoon of vanilla extract enhanced the chocolate's aromatic qualities. An optional bittersweet chocolate glaze gives these sleek cookies a classy sheen and yet another dose of chocolate flavor.


20 Comments