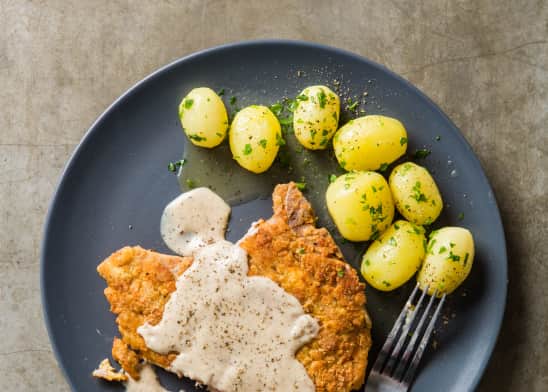
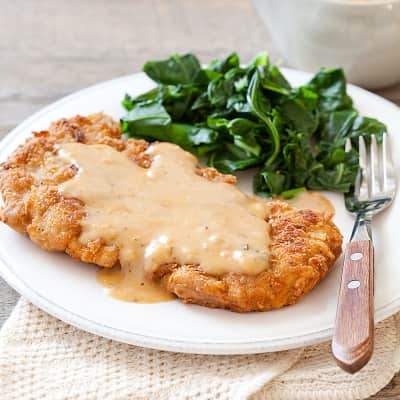
Pan-Fried Pork Chops with Milk Gravy
By Alli BerkeyPublished on June 26, 2017
Time
1 hour
Yield
Serves 4
Ingredients
1 cup plus 2 tablespoons all-purpose flour 2 teaspoons garlic powder Salt and pepper ½ teaspoon cayenne pepper 2 tablespoons plus 1 ½ cups whole milk 2 large eggs 4 (5- to 7-ounce) bone-in pork rib chops, ½ inch thick, trimmed1 cup vegetable oil
Before You Begin
Use pork chops no more than 1/2 inch thick to ensure that the meat cooks through before the breading begins to burn. If you can find only chops that are slightly thicker than 1/2 inch, thin them with a meat pounder.
Instructions
- Whisk 1 cup flour, garlic powder, 1 1/2 teaspoons salt, 1 teaspoon pepper, and cayenne together in shallow dish. Add 2 tablespoons milk to flour mixture; using your fingers, rub flour and milk until milk is fully incorporated and shaggy pieces of dough form. Whisk eggs together in second shallow dish.
- Set wire rack in rimmed baking sheet. Pat chops dry with paper towels and season with salt and pepper. Working with 1 chop at a time, dredge chops in flour mixture, shaking off any excess; dip into eggs to thoroughly coat, letting excess drip back into dish; and dredge again in flour mixture, pressing gently to adhere. Transfer to prepared wire rack. Refrigerate coated chops for at least 15 minutes or up to 2 hours.
- Line large plate with triple layer of paper towels. Heat oil in 12-inch nonstick skillet over medium-high heat to 375 degrees. Add 2 chops and cook until golden brown and meat registers 140 degrees, 2 to 3 minutes per side. Transfer to prepared plate. Repeat with remaining 2 chops.
- Carefully pour off all but 2 tablespoons fat from skillet and place skillet over medium heat. Whisk in remaining 2 tablespoons flour, 1 teaspoon pepper, and 1/2 teaspoon salt and cook until bubbly and fragrant, about 30 seconds. Whisk in remaining 1 1/2 cups milk, bring to boil, and cook until slightly thickened, about 2 minutes. Serve gravy with chops.

Time
1 hourYield
Serves 4Ingredients
Test Kitchen Techniques
Ingredients
Test Kitchen Techniques
Ingredients
Test Kitchen Techniques
Why This Recipe Works
To ensure that our pan-fried pork chops were supercrunchy, we added a small amount of milk to the seasoned flour we used to bread the chops. This step created small crumbs that adhered to the chops and fried up into a craggy, crunchy coating. We tried loin, blade, and rib chops and settled on rib chops for their even cooking and moist meat. Shallow-frying the chops in two batches allowed us to use less oil, and adding a bit of the frying oil to the roux for the gravy created savory depth.


This is a members' feature.
49 Comments