Ultimate Hummus
By America's Test KitchenPublished on June 30, 2011
Time
1¾ hours, plus 12 hours soaking and 30 minutes resting
Yield
Serves 8 (Makes about 2 cups)

Ingredients
Before You Begin
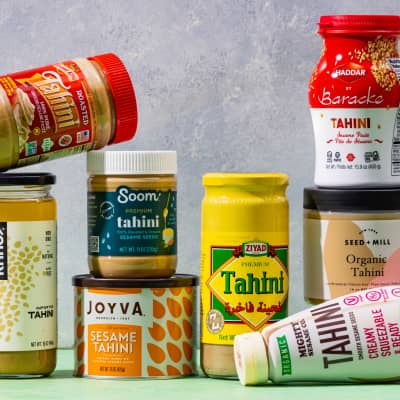
We recommend Joyva or Krinos tahini and Pastene chickpeas (see related tastings). The hummus can be refrigerated in an airtight container for 5 days. If you do not plan on serving it immediately, refrigerate the hummus and garnishes separately. When ready to serve, stir in approximately 1 tablespoon of warm water if the texture is too thick.
Instructions
- Pick through and rinse chickpeas. Place beans in large bowl, cover with 1 quart water, and soak overnight. Drain. Bring beans, baking soda, and 1 quart water to boil in large saucepan over high heat. Reduce heat to low and simmer gently, stirring occasionally, until beans are tender, about 1 hour. Drain, reserving 1/4 cup bean cooking water, and cool.
- Combine lemon juice and bean cooking water in small bowl or measuring cup. Whisk together tahini and 2 tablespoons oil in second small bowl or measuring cup. Set aside 2 tablespoons chickpeas for garnish.
- Process chickpeas, garlic, salt, cumin, and cayenne in food processor until almost fully ground, about 15 seconds. Scrape down bowl with rubber spatula. With machine running, add lemon juice-water mixture in steady stream through feed tube. Scrape down bowl and continue to process for 1 minute. With machine running, add oil-tahini mixture in steady stream through feed tube; continue to process until hummus is smooth and creamy, about 15 seconds, scraping down bowl as needed.
- Transfer hummus to serving bowl, sprinkle reserved chickpeas and cilantro over surface, cover with plastic wrap, and let stand until flavors meld, at least 30 minutes. Drizzle with olive oil and serve.


Time
1¾ hours, plus 12 hours soaking and 30 minutes restingYield
Serves 8 (Makes about 2 cups)Ingredients
Test Kitchen Techniques
Ingredients
Test Kitchen Techniques
Ingredients
Test Kitchen Techniques
Why This Recipe Works
To develop a hummus recipe with a light, silky-smooth texture and a flavor profile that would balance chickpeas, tahini, lemon juice, garlic, and olive oil, we emulsified the chickpeas and oil in the food processor. For the best flavor in our hummus recipe, we chose our tahini carefully and used it generously.


39 Comments