Sheet-Pan Huevos Rancheros
By America's Test KitchenPublished on September 11, 2020
Time
1¼ hours
Yield
Serves 4

Ingredients
2 (28-ounce) cans diced tomatoes 1 tablespoon packed brown sugar 1 tablespoon lime juice 1 onion, chopped½ cup canned chopped green chile ¼ cup extra-virgin olive oil 3 tablespoons chili powder 4 garlic cloves, sliced thinSalt and pepper 8 (6-inch) corn tortillas 4 ounces pepper Jack cheese, shredded (1 cup)8 large eggs 1 avocado, halved, pitted, and diced2 scallions, sliced thin¼ cup minced fresh cilantro
Before You Begin
We like our eggs slightly runny; if you prefer well-done eggs, cook them to the end of the time range in step 4. Use heavyweight rimmed baking sheets; flimsy sheets will warp. Serve with hot sauce.
Instructions
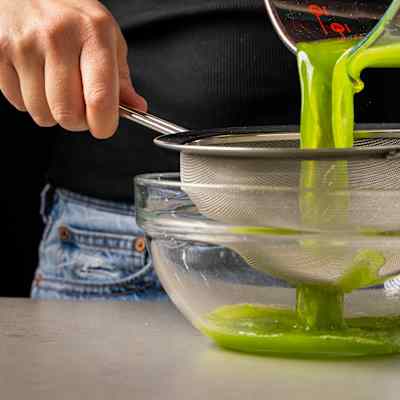
- Adjust oven racks to lowest and middle positions and heat oven to 500 degrees. Drain tomatoes in fine-mesh strainer set over bowl, pressing with rubber spatula to extract as much juice as possible. Combine 1¾ cups drained tomato juice, sugar, and lime juice in bowl and set aside; discard extra drained juice.
- Combine tomatoes, onion, chiles, oil, chili powder, garlic, and ½ teaspoon salt in bowl, then spread mixture out evenly on rimmed baking sheet. Wrap tortillas in aluminum foil and place on lower rack. Place sheet with tomato mixture on upper rack and roast until charred in spots, 35 to 40 minutes, stirring and redistributing into even layer halfway through roasting.
- Remove sheet from oven and place inside second rimmed baking sheet. Carefully stir reserved tomato juice mixture into roasted vegetables, season with salt and pepper to taste, and spread into even layer. Sprinkle cheese over top and, using back of spoon, hollow out eight 3-inch-wide holes in mixture. Crack 1 egg into each hole and season with salt and pepper.
- Bake until whites are just beginning to set but still have some movement when sheet is shaken, 7 to 8 minutes for slightly runny yolks or 9 to 10 minutes for soft-cooked yolks, rotating sheet halfway through baking.
- Remove sheet from oven and top with avocado, scallions, and cilantro. To serve, slide spatula underneath eggs and sauce and gently transfer to warm tortillas.


Time
1¼ hoursYield
Serves 4Ingredients
Ingredients
Ingredients
Why This Recipe Works
We built a strong tomato sauce by roasting diced tomatoes, onion, and chiles on the pan for concentrated flavors and nice char. Stirring in the tomato juice created a saucy bed for our eggs. After sprinkling on pepper Jack cheese, we created eight wells with a spoon, then cracked in our eggs. We soon discovered that the key to oven-poached eggs was adding a second baking sheet for insulation, but was it still a one-pan meal? The second pan didn't need washing, so we think so.


This is a members' feature.
28 Comments