Fresh Strawberry Pie
By Dawn YanagiharaPublished on June 26, 2013
Time
35 minutes, plus 2 hours chilling
Yield
Serves 8 to 10 (Makes one 9-inch pie)

Ingredients
Filling
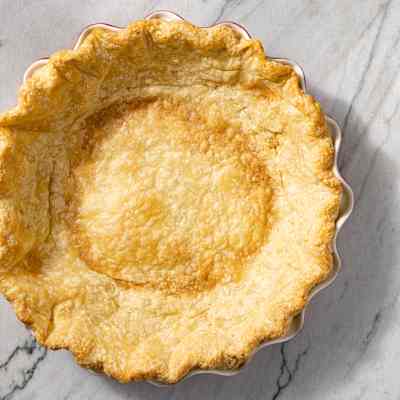
4 pints (about 3 pounds) fresh strawberries, gently rinsed and dried, hulled (see note)¾ cup (5 ¼ ounces/149 grams) sugar 2 tablespoons cornstarch 1 ½ teaspoons Sure-Jell for low-sugar recipes (see note)Pinch table salt, generous amount1 tablespoon juice from 1 lemon 1 (9-inch) pie shell, baked and cooledWhipped Cream
1 cup cold heavy cream 1 tablespoon sugarBefore You Begin
We like to use our Foolproof All-Butter Dough for Single-Crust Pie for this recipe. To account for any imperfect strawberries, the ingredient list calls for several more ounces of berries than will be used in the pie. If possible, seek out ripe, farmers’ market–quality berries. Make certain that you use Sure-Jell engineered for low- or no-sugar recipes (packaged in a pink box) and not regular Sure-Jell (in a yellow box); otherwise, the glaze will not set properly. The pie is at its best after two or three hours of chilling; as it continues to chill, the glaze becomes softer and wetter, though the pie will taste just as good.
Instructions
- Select 6 ounces (170 grams) misshapen, underripe, or otherwise unattractive berries, halving those that are large; you should have about 1½ cups. In food processor, process berries to smooth puree, 20 to 30 seconds, scraping down bowl as needed. You should have about ¾ cup puree.
- Whisk sugar, cornstarch, Sure-Jell, and salt in medium saucepan. Stir in berry puree, making sure to scrape corners of pan. Cook over medium-high heat, stirring constantly with heatproof rubber spatula, and bring to full boil. Boil, scraping bottom and sides of pan to prevent scorching, for 2 minutes to ensure that cornstarch is fully cooked (mixture will appear frothy when it first reaches boil, then will darken and thicken with further cooking). Transfer to large bowl and stir in lemon juice. Let cool to room temperature.
- Meanwhile, pick over remaining berries and measure out 2 pounds (907 grams) of most attractive ones; halve only extra-large berries. Add berries to bowl with glaze and fold gently with rubber spatula until berries are evenly coated. Scoop berries into pie shell, piling into mound. If any cut sides face up on top, turn them face down. If necessary, rearrange berries so that holes are filled and mound looks attractive. Refrigerate pie until chilled, about 2 hours. Serve within 5 hours of chilling.
- Just before serving, beat cream and sugar with electric mixer on low speed until small bubbles form, about 30 seconds. Increase speed to medium; continue beating until beaters leave trail, about 30 additional seconds. Increase speed to high; continue beating until cream is smooth, thick, and nearly doubled in volume and forms soft peaks, 30 to 60 seconds.
- Cut pie into wedges. Serve with whipped cream.
for the filling
for the whipped cream
Time
35 minutes, plus 2 hours chillingYield
Serves 8 to 10 (Makes one 9-inch pie)Ingredients
Filling
Whipped Cream
Test Kitchen Techniques
Ingredients
Filling
Whipped Cream
Test Kitchen Techniques
Ingredients
Filling
Whipped Cream
Test Kitchen Techniques
Why This Recipe Works
We knew that the success of our Fresh Strawberry Pie recipe hinged on getting the thickener just right. When none of the thickeners that we tried worked on their own, we decided to use a combination of two: pectin (in the form of a homemade strawberry jam) and cornstarch. In our strawberry pie recipe by themselves, pectin produced a filling that was too firm and cornstarch one that was too loose. But together they produced just the right supple, lightly clingy glaze that was perfect for our strawberry pie.


91 Comments