Quinoa Salad with Red Bell Pepper and Cilantro
By America's Test KitchenPublished on December 3, 2012
Time
40 minutes, plus 20 minutes cooling
Yield
Serves 4

Ingredients
Before You Begin
Do not add oil or butter to the pot when toasting the quinoa, as it will make the grain taste slightly bitter. To make this dish spicier, add the chile seeds. After 12 minutes of cooking, there will still be a little bit of water in the pan, but this will evaporate as the quinoa cools. We like the convenience of prewashed quinoa. If you buy unwashed quinoa (or if you are unsure if it's washed), quinoa should be rinsed before cooking to remove its bitter protective coating (called saponin) and dried on a towel. We developed this recipe using using white quinoa. Red quinoa will work, but because its seed coat is thicker, the grains have a crunchier texture. Black quinoa's seed coat is even thicker than that of red quinoa; we don't recommend it for this recipe.
Instructions
- Toast the quinoa in a large saucepan over medium heat, stirring often, until the quinoa is lightly toasted and aromatic, about 5 minutes. Stir in the water and 1/4 teaspoon salt and bring to a simmer. Reduce the heat to low, cover, and continue to simmer until the quinoa has absorbed most of the water and is nearly tender, about 12 minutes. Spread the quinoa out over a rimmed baking sheet and set aside until it is tender and cool, about 20 minutes.
- When the quinoa is cool, transfer it to a large bowl. Stir in the bell pepper, jalapeño, onion, and cilantro. In a separate bowl, whisk the lime juice, oil, mustard, garlic, and cumin together, then pour over the quinoa mixture and toss to coat. Season with salt and pepper to taste and serve.
- The quinoa salad can be refrigerated in an airtight container for up to 2 days; season with additional salt, pepper, and lime juice to taste before serving.
to make ahead


Time
40 minutes, plus 20 minutes coolingYield
Serves 4Ingredients
Ingredients
Ingredients
Why This Recipe Works
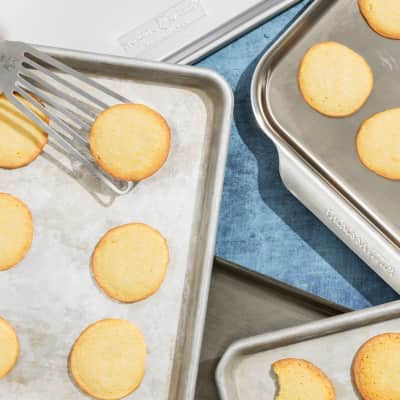
For our quinoa salad recipe, we rinsed the grain to remove its bitter protective layer, and then toasted it to bring out its flavor before adding liquid to the pan. Spreading the cooked quinoa over a rimmed baking sheet to cool produced the fluffiest grains for our quinoa salad recipe.


24 Comments