Pressure-Cooker Chicken Broth
By America's Test KitchenPublished on January 31, 2013
Time
2 hours
Yield
Makes 3 Quarts

Ingredients
Before You Begin
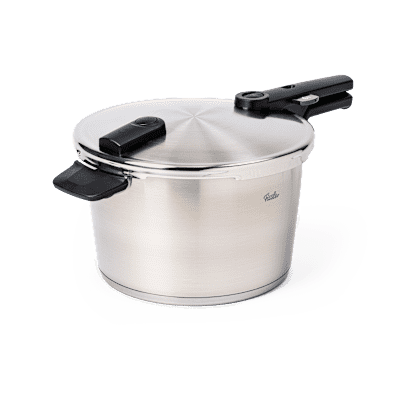
If using a 6-quart stovetop or electric pressure cooker, this recipe will fill a 6-quart pot two-thirds full. No additional alterations are needed if using a 6-quart electric pressure cooker.
Instructions
- Heat oil in pressure-cooker pot over medium-high heat until smoking. Brown half of chicken on all sides, about 6 minutes; transfer to bowl. Repeat with remaining chicken; transfer to bowl.
- Pour off all but 1 tablespoon fat left in pot, add onion, and cook over medium heat until softened and well browned, 8 to 10 minutes. Stir in garlic and cook until fragrant, about 30 seconds. Stir in 1 cup water and scrape up all browned bits from bottom of pot using wooden spoon. Stir in remaining 11 cups water, salt, bay leaves, and browned chicken with any accumulated juices.
- HIGH PRESSURE FOR 1 Lock pressure-cooker lid in place and bring to high pressure over medium-high heat. As soon as pot reaches high pressure, reduce heat to medium-low and cook for 1 hour, adjusting heat as needed to maintain high pressure.
- Remove pot from heat. Quick release pressure, then carefully remove lid, allowing steam to escape away from you.
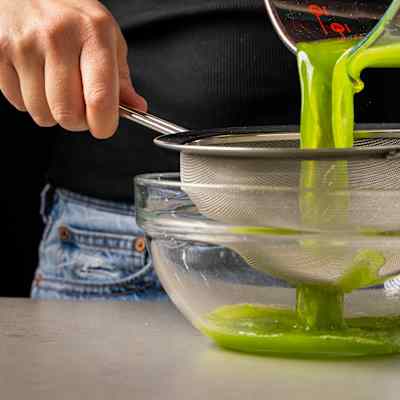
- Strain broth through fine-mesh strainer into clean container, pressing on solids to extract as much liquid as possible; discard solids. Using large spoon, skim excess fat from surface of broth. (Broth can be refrigerated for up to 2 days, or frozen for several months.)
build flavor
hour
quick release pressure


Time
2 hoursYield
Makes 3 QuartsIngredients
Test Kitchen Techniques
Ingredients
Test Kitchen Techniques
Ingredients
Test Kitchen Techniques
Why This Recipe Works
Preparing broths in the pressure cooker is not only faster than conventional methods, but the flavor is also significantly better. The intense heat promotes the extraction of flavor compounds from bones, skin, and encourages the breakdown of proteins into peptides, which produces noticeably rich meatiness. A number of recipes recommend roasting the chicken parts first for both color and flavor. To mimic this effect without requiring the extra hours of work, we simply brown the chicken in the pot before browning the onion and adding the vegetables and water. Determining the right amount of water to add proved key: more than 3 quarts water creates a watery broth, but any less means a skimpy yield. As for the time, we found it takes a full hour to extract all the flavor from the bones and meat.


31 Comments