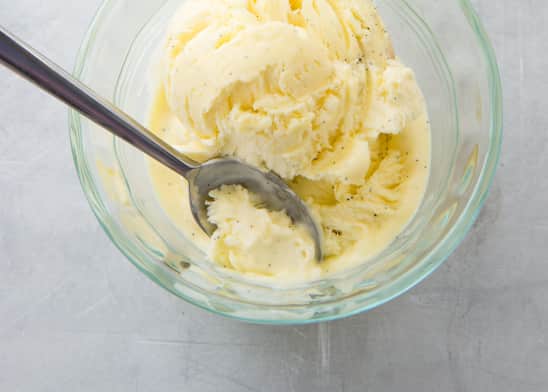
Old-Fashioned Vanilla Frozen Custard
By Diane UngerPublished on June 8, 2015
Time
25 minutes, plus 1 to 2 hours chilling and 6 hours freezing
Yield
Makes about 1 quart
Ingredients
Before You Begin
One teaspoon of vanilla extract can be substituted for the vanilla bean; stir the extract into the strained custard in step 3. Use an instant-read thermometer for the best results.
Instructions
- Whisk egg yolks, sugar, and milk powder in bowl until smooth, about 30 seconds; set aside. Combine cream, milk, corn syrup, and salt in medium saucepan. Cut vanilla bean in half lengthwise. Using tip of paring knife, scrape out vanilla seeds and add to cream mixture, along with vanilla bean. Heat cream mixture over medium-high heat, stirring occasionally, until it steams steadily and registers 175 degrees, about 5 minutes. Remove saucepan from heat.
- Slowly whisk heated cream mixture into yolk mixture to temper. Return cream-yolk mixture to saucepan and cook over medium-low heat, stirring constantly, until mixture thickens and registers 180 degrees, 4 to 6 minutes.
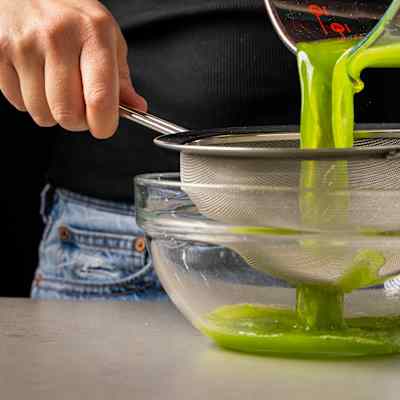
- Immediately pour custard through fine-mesh strainer set over large bowl; discard vanilla bean. Fill slightly larger bowl with ice and set custard bowl in bowl of ice. Transfer to refrigerator and let chill until custard registers 40 degrees, 1 to 2 hours, stirring occasionally.
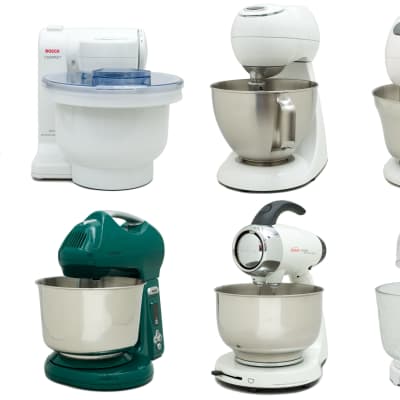
- Transfer chilled custard to stand mixer fitted with whisk and whip on medium-high speed for 3 minutes, or until mixture increases in volume to about 3 3/4 cups. Pour custard into airtight 1-quart container. Cover and freeze until firm, at least 6 hours, before serving. (Frozen custard is best eaten within 10 days.)
Time
25 minutes, plus 1 to 2 hours chilling and 6 hours freezingYield
Makes about 1 quartIngredients
Test Kitchen Techniques
Ingredients
Test Kitchen Techniques
Ingredients
Test Kitchen Techniques
Why This Recipe Works
Creating vanilla frozen custard without an ice cream maker requires a few tricks to churn out a smooth, rich, and creamy dessert. First, we heated a mixture of heavy cream, whole milk, corn syrup (to help prevent crystallization), and vanilla. Then, we slowly poured it over a rich mixture of egg yolks, sugar, and dry milk powder—a process called tempering. This helped guard against any clumping of egg in the final custard. Straining the mixture removed any solid bits of egg. To achieve the smoothest possible frozen custard, we cooled the mixture down and then whipped it in a stand mixer to add air, which prevents crystallization and makes the final product especially creamy.


20 Comments